Author:BLD Solar Energy SystemFROM:Solar System Converter Manufacturer TIME:2023-11-17
Are you looking to install a rapid shutdown system for your solar PV arrays? If so, you've come to the right place! In this article, we will walk you through the simple installation steps of a rapid shutdown system. This system is required by the National Electrical Code (NEC) for all solar PV installations and can help protect firefighters from any potential electrical hazards.

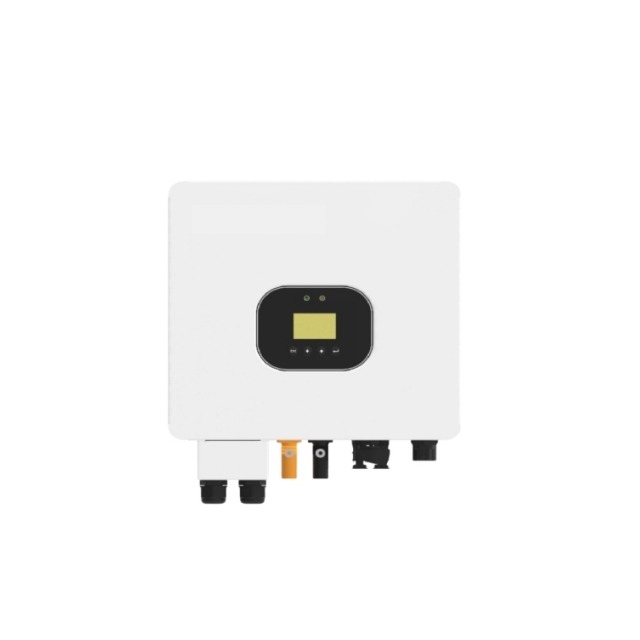
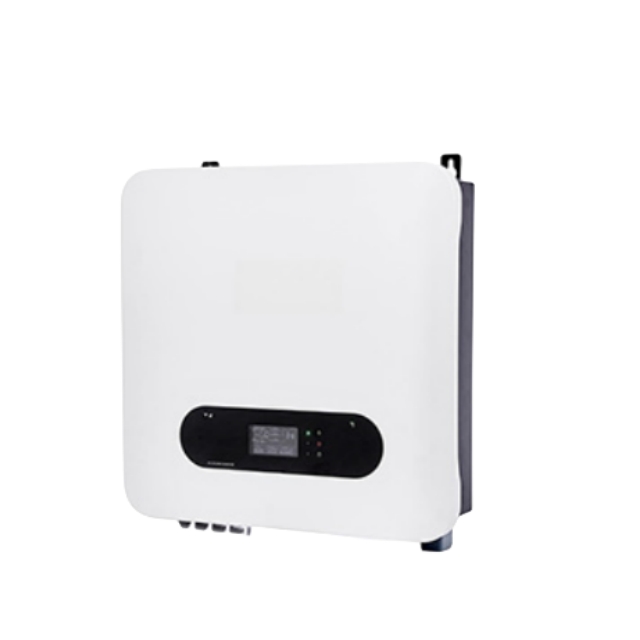
The first step to installing a rapid shutdown system is to gather all the necessary materials. These include a rapid shutdown controller, rapid shutdown initiator(s), rapid shutdown combiner box, and compatible solar PV modules. The number of components required will depend on the size and complexity of your solar PV array.

It's essential to plan your system layout before beginning the installation process. You'll need to determine the locations of your rapid shutdown initiator(s), combiner box, and controller. It's also important to consider the distance between the solar PV modules and the rapid shutdown initiator(s) to ensure proper functionality.

Once you have your system layout planned, the next step is to mount the rapid shutdown initiator(s). These should be installed near the solar PV modules and connected to the rapid shutdown controller with the appropriate wiring. The initiator(s) will send a signal to the controller to shut down the system in the event of an emergency.
The rapid shutdown combiner box should be mounted near the solar PV array and connected to the rapid shutdown initiator(s) and controller. This box will combine the input from the solar PV modules and send it to the rapid shutdown initiator(s).
The rapid shutdown controller is a critical component of the system and should be installed in a secure location, preferably protected from the elements. Once installed, it should be connected to the rapid shutdown initiator(s) and combiner box.
After the rapid shutdown initiator(s), combiner box, and controller are installed, it's time to connect your solar PV modules. These should be wired to the rapid shutdown combiner box and tested for proper operation.
Before completing the installation process, it's essential to test the rapid shutdown system to ensure proper functionality. This can be done by simulating an emergency and verifying that the system shuts down within the required time frame.
Once you've tested the system and verified its proper functionality, you can complete the installation process. Be sure to label all components and wiring as required by the NEC, and provide documentation of the installation for future reference.
Installing a rapid shutdown system for your solar PV array is a crucial step in ensuring the safety of both personnel and property. By following these simple installation steps, you can quickly and easily install a compliant rapid shutdown system that meets the requirements of the NEC and provides added protection against potential electrical hazards.

 Tel: +86-13959965075
 Email:
 MP/WhatsApp: +86-13959965075
 Manufacturer Address: