Author:BLD Solar Energy SystemFROM:Solar System Converter Manufacturer TIME:2023-10-26

Welcome to our step-by-step installation guide for a W on-grid solar inverter. This guide will walk you through the process of installing and setting up your solar inverter, enabling you to harness the power of the sun and convert it into usable electricity. Follow these instructions carefully to ensure a successful installation.

Before you begin the installation, there are a few important steps you need to take. First, ensure that you have obtained all the necessary permits and approvals from your local authorities. Additionally, make sure you have all the required tools and equipment for the installation process, such as a ladder, screwdriver, and safety gloves.

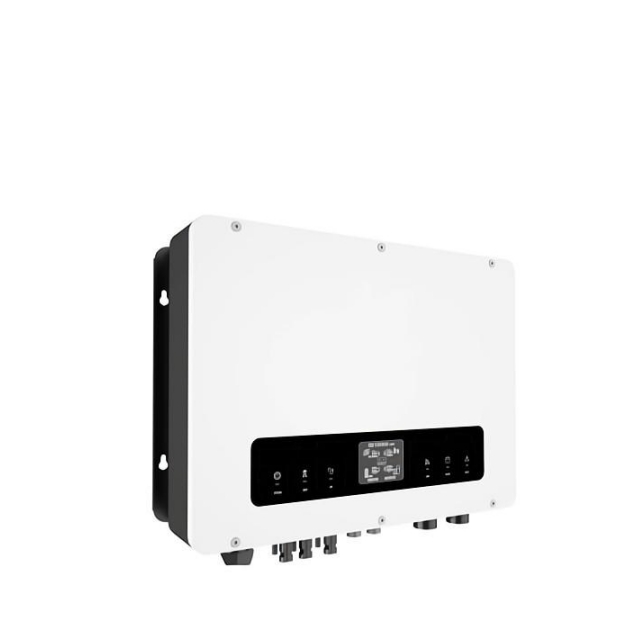
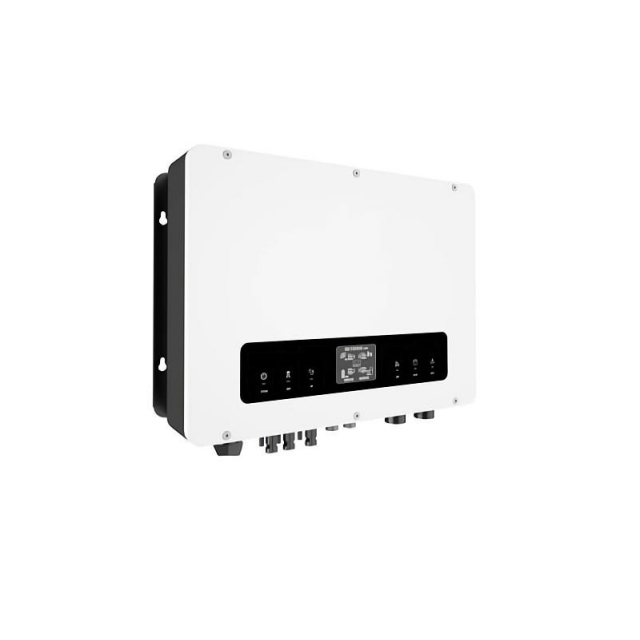
The first step in installing your solar inverter is to find a suitable location for mounting. Choose a spot that is well-ventilated, away from direct sunlight, and easily accessible for maintenance. Use a level to ensure that the mounting surface is perfectly horizontal. Secure the inverter to the wall or a sturdy structure using the provided brackets.
Next, you will need to connect the DC cables from your solar panels to the solar inverter. Ensure that the positive and negative terminals of both the panels and the inverter are correctly matched. Use appropriate connectors and cable clips to secure the cables and prevent any accidental disconnections.
After connecting the DC cables, it is time to establish the AC connection. Locate your main AC distribution panel and turn off the main circuit breaker. Install a dedicated double-pole circuit breaker for the solar inverter and connect its output to the panel. Make sure all connections are secure and properly tightened.
Proper grounding is crucial for the safe operation of your solar inverter. Connect the grounding wire from the inverter to a suitable grounding system, such as a ground rod or a metal water pipe. Consult local electrical codes and regulations for specific grounding requirements in your area.
Once all the connections are in place, it's time to power on the solar inverter. Follow the manufacturer's instructions to ensure the correct startup procedure. Once the inverter is powered on, check the display for any error messages or warnings. Perform a few test runs to verify the proper functioning of the inverter and ensure that it is converting solar energy efficiently.
After the installation is complete, it is important to regularly monitor and maintain your solar inverter. Use the provided monitoring software or online platform to track the performance of your system. Clean the inverter and surrounding area regularly to prevent dust or debris build-up that could affect its efficiency. Additionally, schedule periodic inspections by a qualified technician to ensure proper functioning.
In conclusion, installing a W on-grid solar inverter involves several important steps. From the pre-installation checklist to the final monitoring and maintenance, each step plays a crucial role in the performance and longevity of your solar energy system. By following this step-by-step guide, you can confidently install and set up your solar inverter, contributing to a sustainable and environmentally-friendly energy solution.

 Tel: +86-13959965075
 Email:
 MP/WhatsApp: +86-13959965075
 Manufacturer Address: