Author:BLD Solar Energy SystemFROM:Solar System Converter Manufacturer TIME:2023-10-16

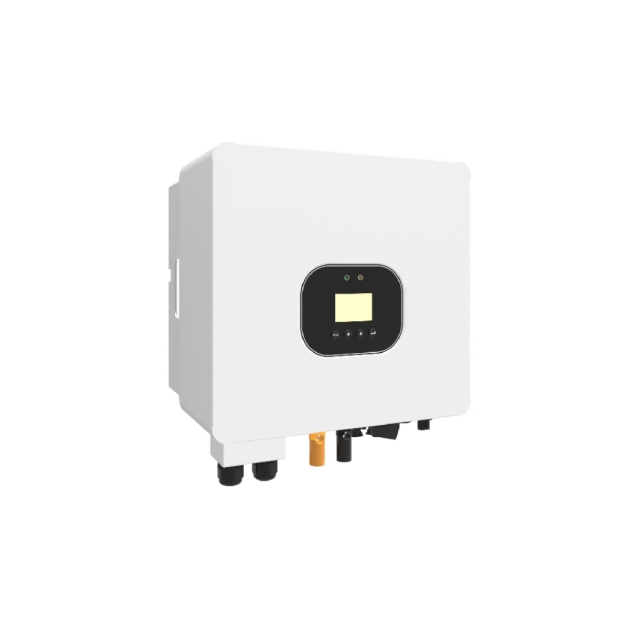
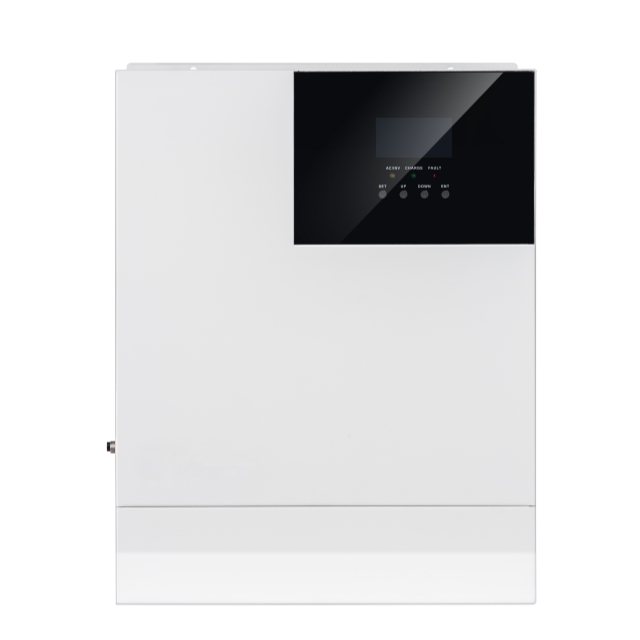
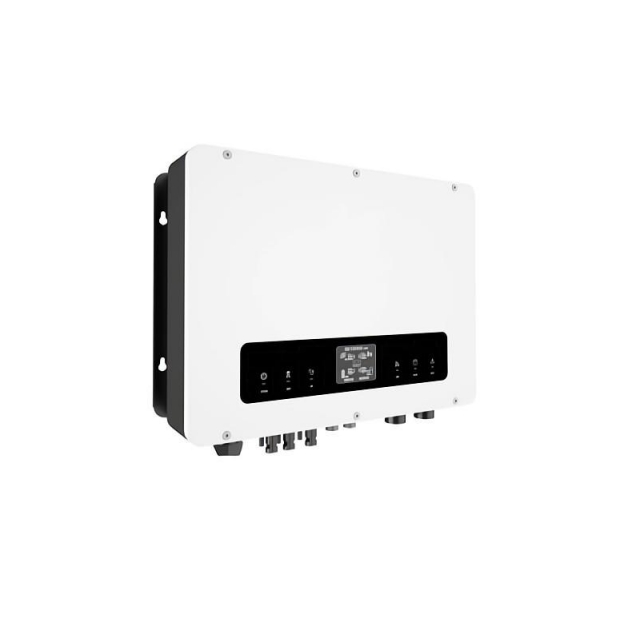
This installation guide provides detailed instructions on how to install the Havells On-Grid Solar Inverter. On-grid solar inverters are an essential component of a solar power system as they convert the direct current (DC) produced by solar panels into alternating current (AC) that can be used to power electrical devices. Follow the steps outlined below to ensure a successful installation.

Choose a suitable location for installing the solar inverter. It should be dry, well-ventilated, and away from direct sunlight or extreme temperatures. Ensure the area is easily accessible for maintenance purposes. Additionally, make sure the inverter is installed close to the main electrical panel to facilitate connection.

The solar inverter needs to be mounted securely on the wall using appropriate brackets. Make sure the mounting surface is strong enough to support the weight of the inverter. Follow the manufacturer's instructions for proper installation and use the provided template to mark the positions for drilling holes.
Before making any electrical connections, ensure that the main power supply is switched off. Connect the DC input terminals of the inverter to the solar panels using the recommended gauge of wire. Double-check the polarity to avoid any damage. Next, connect the AC output terminals of the inverter to the main electrical panel. Use appropriately sized cables and follow the local electrical codes.
Proper grounding is essential for the safe and efficient operation of the solar inverter. Connect the grounding terminal of the inverter to a reliable earth ground using an appropriately sized conductor. Refer to the installation manual for specific instructions on proper grounding techniques.
Install AC and DC disconnect switches near the solar inverter. These switches allow for easy disconnection of power during maintenance or emergencies. Ensure that the switches are easily accessible and clearly labeled.
Once the physical installation is complete, it's time to commission the solar inverter. Follow the manufacturer's instructions for setup and configuration. This includes inputting system parameters, such as grid voltage and frequency, as well as setting up monitoring and communication features if available.
Perform thorough testing to ensure the solar inverter is functioning correctly. Test both the DC and AC connections, measure the voltages and currents, and verify the system performance. If any issues arise, refer to the troubleshooting section of the installation manual or contact technical support for assistance.
To ensure optimal performance, regular maintenance of the solar inverter is required. Clean the inverter periodically, inspect the wiring for any signs of damage, and check for loose connections. Refer to the manufacturer's guidelines for recommended maintenance intervals and procedures.
By following this installation guide, you can successfully install the Havells On-Grid Solar Inverter. Remember to prioritize safety at all times, and consult professional assistance if needed. Enjoy the benefits of harnessing solar energy with your newly installed solar inverter.

 Tel: +86-13959965075
 Email:
 MP/WhatsApp: +86-13959965075
 Manufacturer Address: